

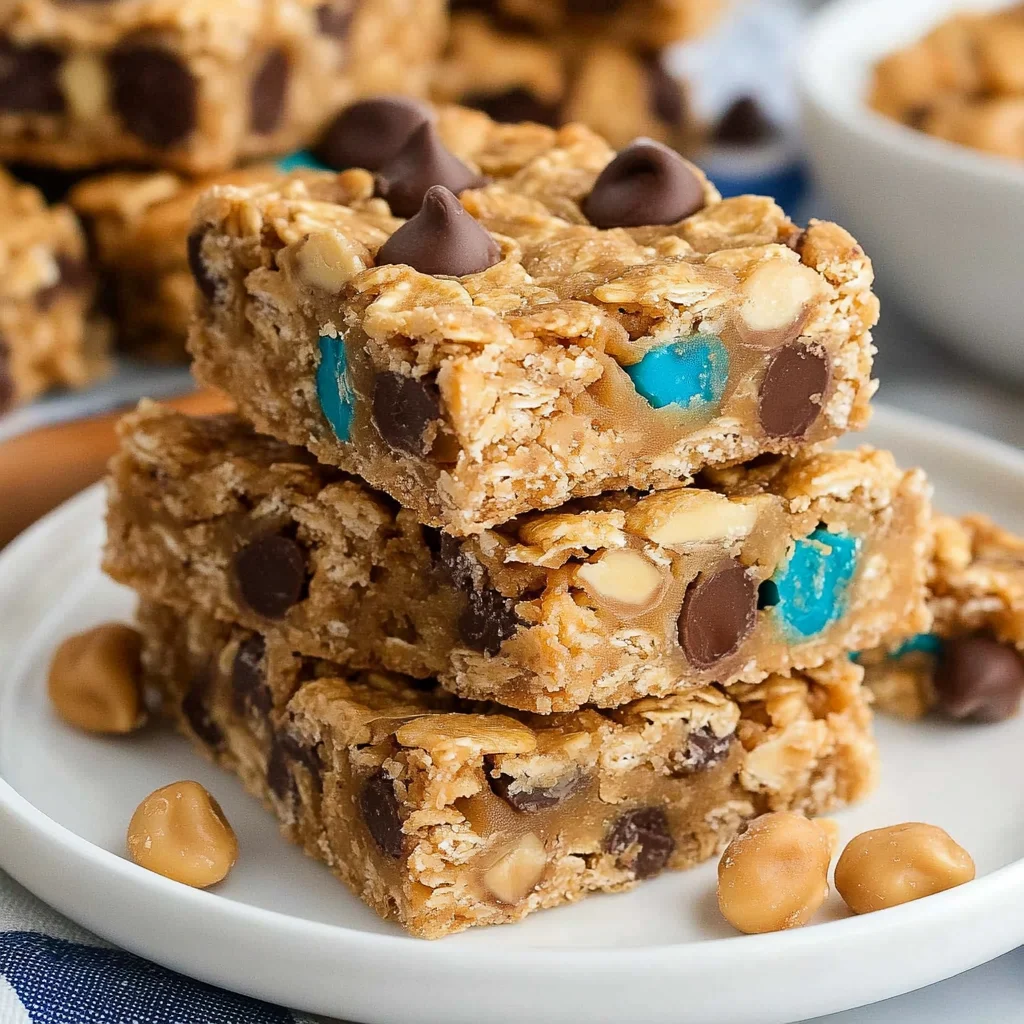
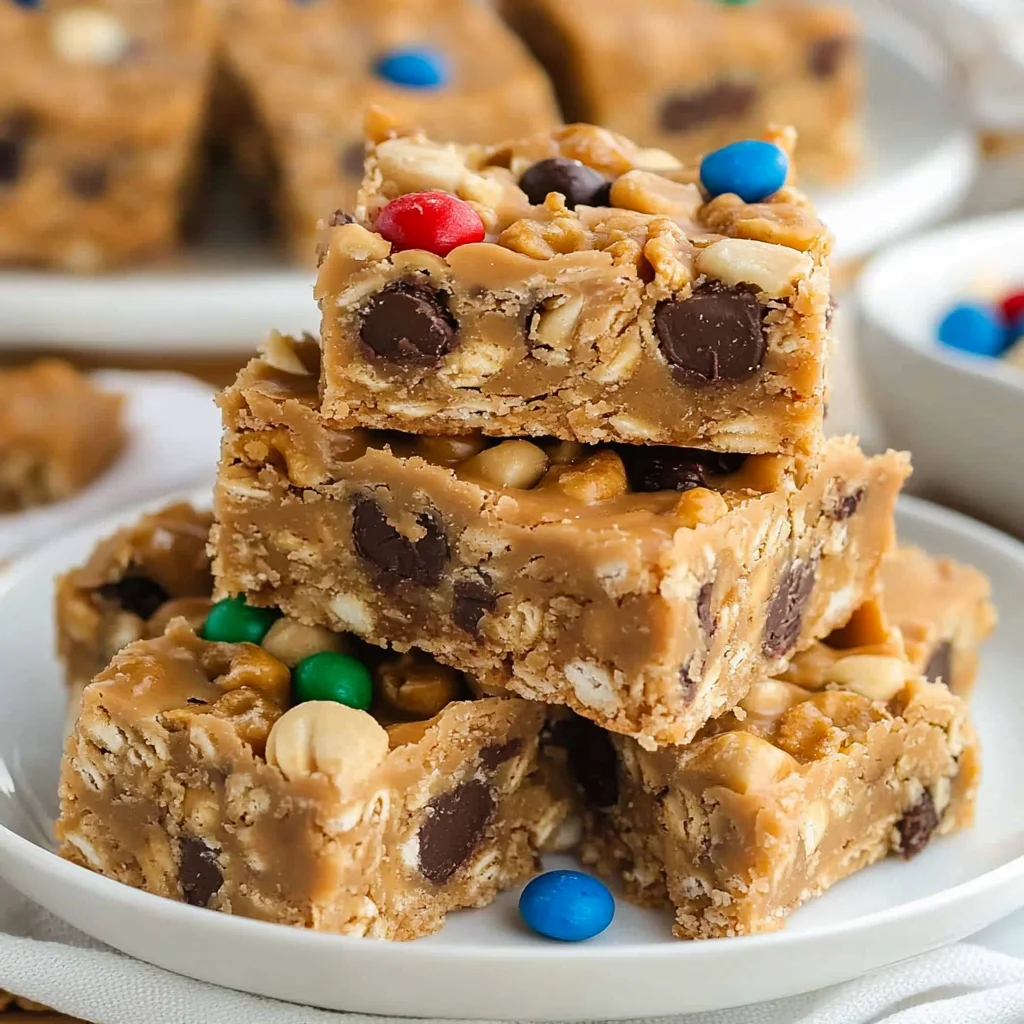
Try these delicious no bake peanut butter cereal bars. A perfect for on-the-go snack or dessert. These bars offer a delightful combination of crunch and sweetness, making them ideal for lunchboxes, parties, or a quick treat after dinner. Plus, they are incredibly easy to make, requiring no baking at all!
Why You’ll Love This Recipe
- Quick Preparation: You can whip up these bars in just 25 minutes, making them a convenient choice for busy days.
- No Baking Required: Enjoy the ease of preparing a delicious snack without turning on the oven.
- Customizable Ingredients: Feel free to swap out peanuts or M&M’s for your favorite nuts or chocolate candies.
- Kid-Friendly: These bars are not only tasty but also fun to make with children, perfect for family bonding in the kitchen.
- Great for Parties: Serve these bars at gatherings or potlucks; they’re sure to be a hit with guests of all ages.
Tools and Preparation
Before you start making your no bake peanut butter cereal bars, gather the necessary tools. Having everything ready will streamline your cooking process.
Essential Tools and Equipment
- Non-stick spray
- Large mixing bowl
- Medium saucepan
- Spoon or spatula
- 15” x 10” x 1” pan
Importance of Each Tool
- Non-stick spray: Prevents the mixture from sticking to the pan, ensuring easy removal once set.
- Large mixing bowl: Provides ample space for combining all ingredients without making a mess.
- Medium saucepan: Essential for heating the corn syrup and sugar mixture evenly.
Ingredients
Try these delicious no bake peanut butter cereal bars. A perfect for on-the-go snack or dessert.
For the Base
- 4 cups cheerios
- 4 cups crisp rice cereal
- 2 cups dry roasted peanuts
- 2 cups M&M’s
For the Binding Mixture
- 2 cups light corn syrup
- 1 ¾ cups sugar
- 2 ½ cups creamy peanut butter
- 1 ¾ teaspoons vanilla
How to Make No Bake Peanut Butter Cereal Bars
Step 1: Prepare Your Pan
Spray a 15” x 10” x 1” pan with non-stick spray and set it aside. This will ensure that your cereal bars come out easily after they have set.
Step 2: Combine Dry Ingredients
In a large mixing bowl, combine the cheerios, crisp rice cereal, dry roasted peanuts, and M&M’s. Mix well until all ingredients are evenly distributed.
Step 3: Heat Syrup Mixture
In a medium-sized saucepan, bring the light corn syrup and sugar to a boil over medium heat. Stir frequently to prevent sticking. Once boiling, remove from heat and stir in the creamy peanut butter and vanilla. Mix until smooth.
Step 4: Combine Mixtures
Pour the syrup mixture over the cereal mixture in your large mixing bowl. Toss everything together thoroughly to coat each piece evenly with the peanut butter mixture.
Step 5: Set the Bars
Spread the combined mixture into your prepared pan. Use a spatula to press it down firmly into an even layer. Let sit until set, which may take about an hour at room temperature or quicker in the refrigerator.
Now you have your delicious no bake peanut butter cereal bars ready to enjoy!
How to Serve No Bake Peanut Butter Cereal Bars
These no bake peanut butter cereal bars are a delightful treat that can be enjoyed in various ways. Whether you need a quick snack or a fun dessert, these bars are versatile enough for any occasion.
For Breakfast
- Pair with yogurt – Enjoy them alongside Greek yogurt for a protein-packed breakfast.
- Serve with fresh fruit – Slice the bars and serve with berries or banana slices for added nutrition.
As an Afternoon Snack
- Pack for on-the-go – These bars make an excellent snack to take on road trips or hikes.
- Enjoy with a glass of milk – A cold glass of milk complements the sweetness perfectly.
For Dessert
- Drizzle with chocolate – Add melted chocolate on top for an indulgent touch.
- Serve with ice cream – Crumble the bars over vanilla ice cream for a delicious sundae topping.
How to Perfect No Bake Peanut Butter Cereal Bars
To make the perfect no bake peanut butter cereal bars, follow these simple tips to enhance flavor and texture.
- Use fresh ingredients – Fresh cereals and peanuts will give the best taste and texture.
- Choose creamy peanut butter – Creamy peanut butter mixes well and helps bind the ingredients together.
- Let them cool completely – Allowing the bars to sit ensures they set properly and hold their shape.
- Cut with a warm knife – Warming your knife makes it easier to cut through the bars cleanly without crumbling.
- Store properly – Keep them in an airtight container to maintain freshness and prevent them from getting stale.
Best Side Dishes for No Bake Peanut Butter Cereal Bars
No bake peanut butter cereal bars pair well with a variety of side dishes. Here are some ideas to complement your treat perfectly.
- Fresh Fruit Salad – A mix of seasonal fruits adds freshness and balances sweetness.
- Yogurt Parfait – Layer yogurt, granola, and fruit for a nutritious side dish that enhances breakfast vibes.
- Trail Mix – Combine nuts, seeds, and dried fruits for an energy-boosting snack option.
- Veggies and Hummus – Crunchy veggies dipped in hummus provide a healthy contrast to the sweet bars.
- Chocolate Milkshake – A thick shake pairs well for those who enjoy rich flavors alongside their snacks.
- Smoothie Bowl – A smoothie topped with granola can refresh your palate after enjoying these bars.
Common Mistakes to Avoid
To make the best no bake peanut butter cereal bars, it’s essential to avoid common pitfalls that could affect the texture and flavor of your bars. Here are some mistakes to watch out for:
-
Using stale ingredients: Old cereals or peanuts can ruin the taste. Always check freshness before starting your recipe.
-
Not measuring accurately: If you don’t measure your ingredients properly, the bars may not hold together. Use measuring cups for accuracy.
-
Skipping the non-stick spray: Failing to spray your pan can lead to sticking. Always apply a generous layer of non-stick spray before adding the mixture.
-
Overmixing the cereal mixture: Mixing too much can crush the cereals and alter the texture. Toss gently until coated for the best results.
-
Not allowing enough time to set: Cutting into the bars too early can cause them to fall apart. Let them sit until fully set as directed.
Storage & Reheating Instructions
Refrigerator Storage
- Duration: Store your no bake peanut butter cereal bars in the refrigerator for up to one week.
- Containers: Use an airtight container to keep them fresh and prevent them from drying out.
Freezing No Bake Peanut Butter Cereal Bars
- Duration: You can freeze these bars for up to three months.
- Containers: Wrap each bar individually in plastic wrap and place them in a freezer-safe bag or container.
Reheating No Bake Peanut Butter Cereal Bars
- Oven: Preheat your oven to 350°F (175°C) and warm them for about 5-10 minutes, checking frequently.
- Microwave: Heat for 15-20 seconds at a time until warmed through, but don’t overheat to avoid melting.
- Stovetop: Place on low heat in a skillet for a few minutes, flipping halfway through, ensuring they don’t burn.

Frequently Asked Questions
Can I use different cereals for my No Bake Peanut Butter Cereal Bars?
Yes, you can substitute other cereals based on your preference. Just ensure they have a similar texture and density for best results.
How long do No Bake Peanut Butter Cereal Bars last?
These bars will last up to one week in the refrigerator or up to three months in the freezer if stored correctly.
Can I add chocolate chips to my No Bake Peanut Butter Cereal Bars?
Absolutely! Adding chocolate chips is a great way to enhance flavor and sweetness. Just mix them in with the other ingredients before setting.
Are these No Bake Peanut Butter Cereal Bars healthy?
While they are a tasty treat, moderation is key due to their sugar content. However, they do contain protein from peanuts which adds nutritional value.
Final Thoughts
No bake peanut butter cereal bars are not only quick and easy but also incredibly versatile. You can customize them with various add-ins like chocolate chips, dried fruits, or nuts based on your taste preferences. Try making this delightful recipe at home and enjoy a delicious snack perfect for any occasion!
No Bake Peanut Butter Cereal Bars

Indulge in the delightful taste of no bake peanut butter cereal bars, perfect for any occasion! These bars combine the satisfying crunch of cereals with creamy peanut butter and sweet chocolate, making them an irresistible on-the-go snack or dessert. They are incredibly easy to whip up in just 25 minutes, requiring no baking at all. Customize them with your favorite nuts or candies, and enjoy a fun cooking experience with family, particularly kids. Great for lunchboxes, parties, or as a quick treat after dinner, these bars are sure to please everyone!
- Prep Time: 15 minutes
- Cook Time: 10 minutes
- Total Time: 25 minutes
- Yield: About 24 servings 1x
- Category: Dessert
- Method: No Bake
- Cuisine: American
Ingredients
- 4 cups Cheerios
- 4 cups crisp rice cereal
- 2 cups dry roasted peanuts
- 2 cups M&M's
- 2 cups light corn syrup
- 1 ¾ cups sugar
- 2 ½ cups creamy peanut butter
- 1 ¾ teaspoons vanilla
Instructions
- Spray a 15'' x 10'' x 1'' pan with non-stick spray.
- In a large mixing bowl, combine Cheerios, crisp rice cereal, dry roasted peanuts, and M&M's.
- In a medium saucepan, heat light corn syrup and sugar over medium heat until boiling. Remove from heat and stir in creamy peanut butter and vanilla until smooth.
- Pour the mixture over the cereal blend and mix well until evenly coated.
- Transfer to the prepared pan, pressing down firmly into an even layer. Allow to set at room temperature for about an hour.
Nutrition
- Serving Size: 1 bar (45g)
- Calories: 180
- Sugar: 14g
- Sodium: 90mg
- Fat: 8g
- Saturated Fat: 1.5g
- Unsaturated Fat: 6g
- Trans Fat: 0g
- Carbohydrates: 24g
- Fiber: 2g
- Protein: 4g
- Cholesterol: 0mg