

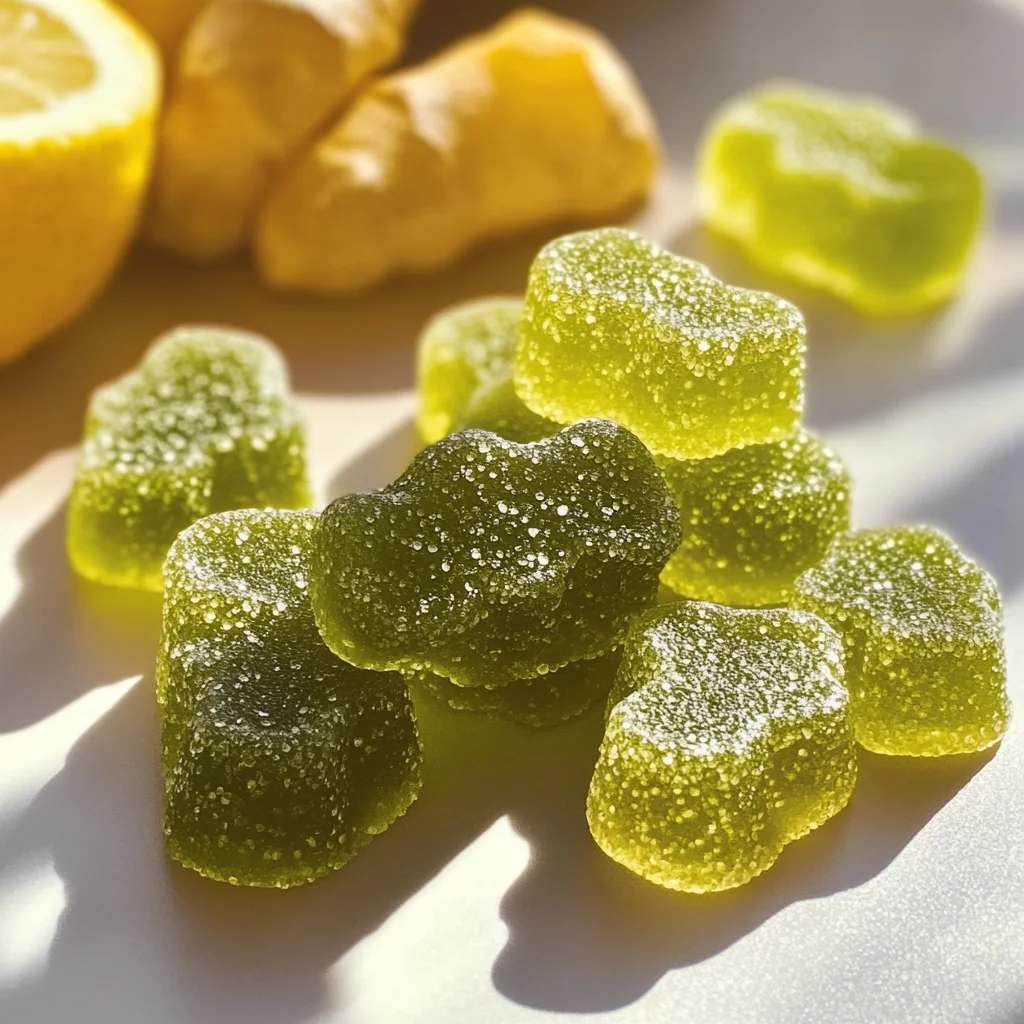
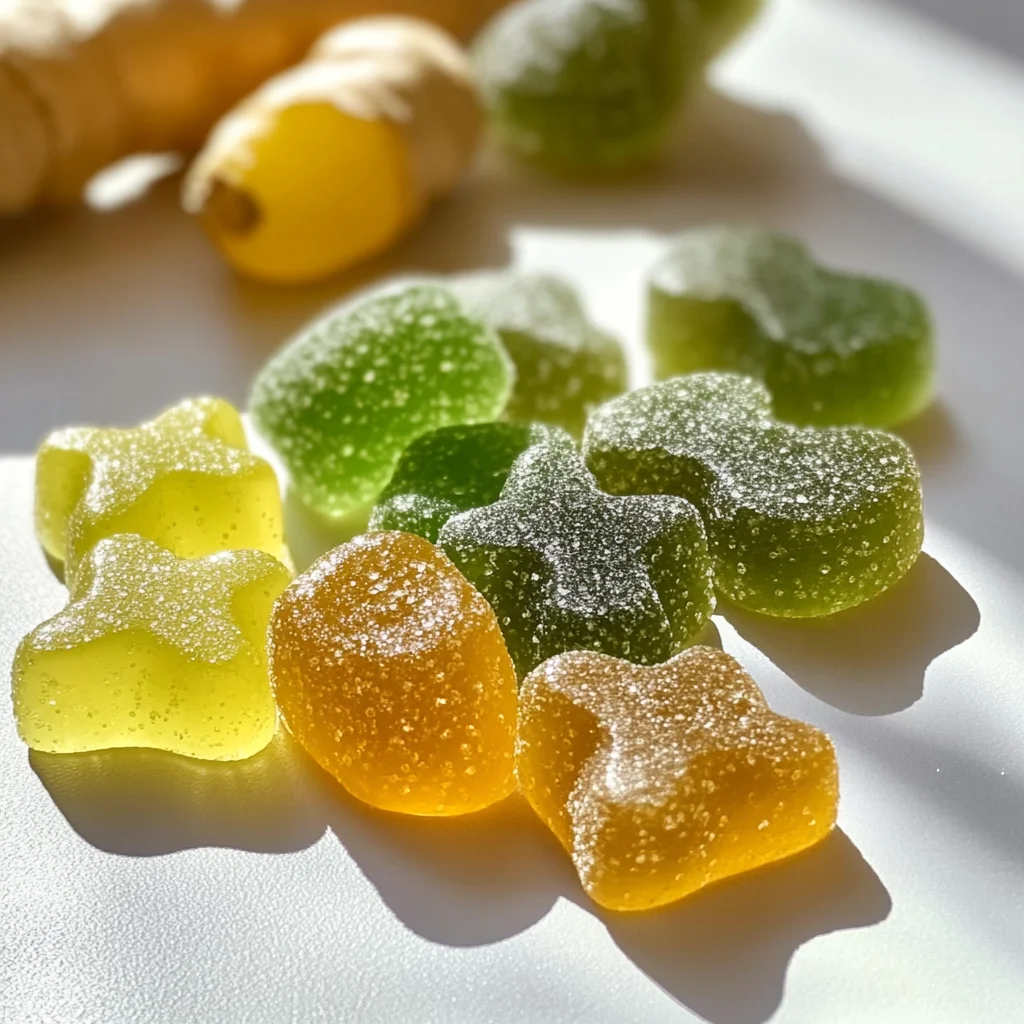
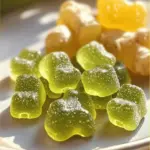
These Green Tea, Lemon & Ginger Gummies are not only a delightful treat but also a fantastic way to enhance your wellness. Bursting with flavors from fresh ingredients, these gummies provide a tasty approach to boosting your immune system and overall health. Whether you need a quick snack during the day or want to enjoy them after a workout, these gummies are perfect for any occasion. Plus, they’re easy to make at home without artificial additives, making them suitable for both kids and adults.
Why You’ll Love This Recipe
- Healthy Ingredients: Packed with antioxidants from green tea and vitamin C from lemon, these gummies support your immune system.
- Easy to Make: With simple steps and minimal equipment, you can whip up a batch in no time.
- Customizable Flavor: Feel free to adjust the sweetness or add different flavors like turmeric for extra benefits.
- No Artificial Additives: Skip the store-bought options that often contain fillers and preservatives.
- Vegan Option Available: Use agar-agar instead of gelatin for a plant-based alternative that everyone can enjoy.
Tools and Preparation
To create your Green Tea, Lemon & Ginger Gummies, you will need some essential tools. These will help streamline the process and ensure your gummies come out perfectly every time.
Essential Tools and Equipment
- Item Saucepan
- Item Whisk
- Item Silicone molds
- Item Measuring cups
- Item Fine mesh strainer
Importance of Each Tool
- Saucepan: Ideal for heating liquids evenly without scorching them.
- Silicone molds: Perfect for shaping your gummies easily without sticking.
- Whisk: Helps mix ingredients thoroughly, ensuring an even distribution of flavors.
Ingredients
For the Gummies
- 1 cup brewed green tea, cooled
- 1/4 cup fresh lemon juice
- 2 tablespoons honey (or maple syrup for vegan option)
- 1 tablespoon fresh ginger, grated
- 3 tablespoons unflavored vegan gelatin (or agar-agar for vegan option)
- 1/4 cup hot water
How to Make Green Tea, Lemon & Ginger Gummies
Step 1: Prepare the Green Tea Base
Begin by brewing one cup of green tea. Allow it to cool completely before using it in the recipe.
Step 2: Mix Ingredients
In a saucepan over low heat:
1. Combine the cooled green tea, fresh lemon juice, honey (or maple syrup), and grated ginger.
2. Stir gently until mixed well.
Step 3: Dissolve the Gelatin
- In a separate bowl, mix the unflavored vegan gelatin (or agar-agar) with hot water.
- Stir until completely dissolved.
Step 4: Combine Mixtures
Gradually pour the dissolved gelatin mixture into the saucepan while continuously stirring. Ensure everything is well combined.
Step 5: Pour into Molds
Carefully pour the mixture into silicone molds. Tap gently on the counter to remove any air bubbles.
Step 6: Chill Until Set
Place the molds in the refrigerator for about 2-3 hours or until fully set. Once firm, gently remove gummies from molds and store in an airtight container in the fridge.
Enjoy your homemade Green Tea, Lemon & Ginger Gummies as a refreshing snack!
How to Serve Green Tea, Lemon & Ginger Gummies
These Green Tea, Lemon & Ginger Gummies are not only tasty but also versatile. You can enjoy them in various ways that enhance their flavor and benefits.
Snack Time Treat
- Enjoy these gummies as a mid-afternoon snack to keep your energy up.
- Pair them with a cup of green tea for an extra health boost.
Post-Workout Recovery
- Take a couple of gummies after your workout to replenish your energy.
- The ginger helps soothe sore muscles while the lemon provides hydration.
Kids’ Lunchbox Surprise
- Include these gummies in your child’s lunchbox for a fun and healthy treat.
- They offer a sweet flavor kids love without any artificial ingredients.
Party Favor
- Use these gummies as a unique party favor at gatherings.
- Package them in small jars with labels for a personal touch.
Afternoon Tea Accompaniment
- Serve these gummies alongside herbal tea during afternoon tea sessions.
- They add a refreshing zing to your tea experience.
How to Perfect Green Tea, Lemon & Ginger Gummies
Creating perfect Green Tea, Lemon & Ginger Gummies is easier with some helpful tips. Follow these suggestions to enhance your gummy-making skills.
- Choose fresh ingredients: Fresh ginger and high-quality green tea will elevate the flavor of your gummies.
- Adjust sweetness: Experiment with honey or maple syrup to find the right sweetness level for your taste.
- Chill properly: Allow your gummies to set completely in the fridge for the best texture before serving.
- Use silicon molds: Silicone molds make it easy to pop out the gummies without sticking.
- Store correctly: Keep your gummies in an airtight container in the fridge to maintain freshness.
- Experiment with flavors: Try adding other fruits or herbs to customize your gummy flavors according to preference.
Best Side Dishes for Green Tea, Lemon & Ginger Gummies
Pairing side dishes with your Green Tea, Lemon & Ginger Gummies can create delightful combinations. Here are some great options:
- Fresh Fruit Salad – A mix of seasonal fruits provides natural sweetness and complements the gummy flavors perfectly.
- Yogurt Parfait – Layer yogurt with granola and berries for a nutritious side that balances the chewy texture of gummies.
- Nutty Trail Mix – A blend of nuts and seeds offers crunch and protein, making it an excellent companion snack.
- Vegetable Sticks with Hummus – Crisp veggies paired with creamy hummus create a refreshing contrast to the gummies’ sweetness.
- Cheese Platter – A selection of mild cheeses can provide a savory balance to the sweet taste of the gummies.
- Rice Cakes with Avocado – Light rice cakes topped with avocado offer healthy fats and fiber, enhancing your snack experience.
Common Mistakes to Avoid
- Avoid using hot tea: Always let the brewed green tea cool down before mixing it with other ingredients to ensure the gummies set properly.
- Don’t use fresh lemon slices: Instead of adding slices, use fresh lemon juice for a smoother consistency and better flavor in your gummies.
- Skip overheating gelatin: Overheating can cause the gelling agent to lose its effectiveness. Follow the instructions carefully and avoid boiling.
- Forget to measure accurately: Precise measurements are crucial for the right texture. Use measuring cups and spoons to ensure accuracy in your recipe.
- Neglect to customize flavors: Feel free to experiment by adding different fruit juices or herbs. This will allow you to create a unique flavor profile that suits your taste.
Storage & Reheating Instructions
Refrigerator Storage
- Store in an airtight container: Keep your gummies fresh by using a container that seals well.
- Consume within 2 weeks: For best taste and texture, enjoy your gummies within two weeks of making them.
Freezing Green Tea, Lemon & Ginger Gummies
- Freeze in single layers: Place gummies on a baking sheet first, then transfer them to a container once they are frozen solid.
- Lasts up to 3 months: Properly stored, these gummies can be kept in the freezer for up to three months.
Reheating Green Tea, Lemon & Ginger Gummies
- Use Oven: Preheat to low heat (around 170°F) and warm the gummies for a few minutes until soft.
- Try Microwave: Heat in short bursts (5-10 seconds) to avoid melting them completely; check frequently.
- Use Stovetop: Place a small amount of water in a pot and warm over low heat, using a bowl above it to gently heat the gummies without direct contact.
Frequently Asked Questions
Here are some common questions regarding Green Tea, Lemon & Ginger Gummies.
How do I make Green Tea, Lemon & Ginger Gummies?
Making these gummies involves brewing green tea, mixing it with lemon juice, honey, grated ginger, and gelling agent. Pour into molds and let set until firm.
Can I substitute honey in the gummy recipe?
Yes! You can use maple syrup as a vegan option instead of honey for sweetness.
What are the health benefits of Green Tea, Lemon & Ginger Gummies?
These gummies support digestion, boost immunity due to vitamin C from lemon juice, and provide anti-inflammatory benefits from ginger.
How long do Green Tea, Lemon & Ginger Gummies last?
When stored properly in an airtight container in the refrigerator, they can last up to two weeks.
Final Thoughts
These Green Tea, Lemon & Ginger Gummies are not only delicious but also packed with health benefits. Their versatility allows you to customize flavors based on your preferences. Give this recipe a try for a fun and healthy snack option!
Green Tea, Lemon & Ginger Gummies
Boost your health with these Green Tea, Lemon & Ginger Gummies! Quick and easy to make at home—try this refreshing treat today!
- Prep Time: 10 minutes
- Cook Time: 10 minutes
- Total Time: 20 minutes
- Yield: About 12 gummies 1x
- Category: Dessert
- Method: Chilling
- Cuisine: N/A
Ingredients
- 1 cup brewed green tea (cooled)
- 1/4 cup fresh lemon juice
- 2 tablespoons honey (or maple syrup for vegan option)
- 1 tablespoon fresh ginger (grated)
- 3 tablespoons agar-agar (for vegan option)
- 1/4 cup hot water
Instructions
- Brew one cup of green tea and allow it to cool.
- In a saucepan over low heat, combine cooled tea, lemon juice, honey (or maple syrup), and grated ginger; stir until mixed.
- In a separate bowl, dissolve agar-agar in hot water until fully blended.
- Gradually mix the dissolved agar-agar into the saucepan while stirring continuously.
- Pour the mixture into silicone molds and tap to release air bubbles.
- Chill in the refrigerator for 2-3 hours until set, then remove from molds and store in an airtight container.
Nutrition
- Serving Size: 2 gummies (30g)
- Calories: 50
- Sugar: 8g
- Sodium: 5mg
- Fat: 0g
- Saturated Fat: 0g
- Unsaturated Fat: 0g
- Trans Fat: 0g
- Carbohydrates: 12g
- Fiber: 0g
- Protein: 0g
- Cholesterol: 0mg